Excel Fill Down Function, Excel Fill Down Examples
Second, let us delete columns A and C as they contain same information as columns B and D, except that columns A and C have empty cells in them.
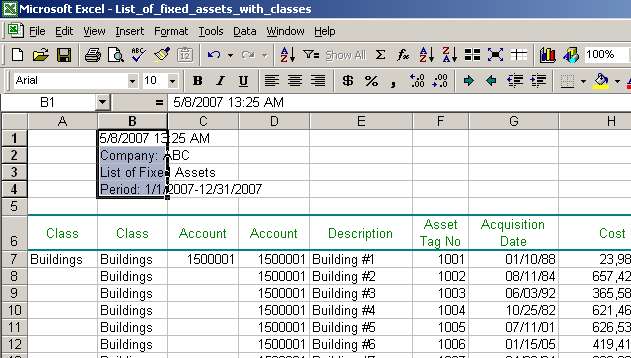
Before we delete columns A and C, we should move file header information in cells A1-A4 (if we delete entire column A, we will lose this information). Cut cells A1-A4 by using key combination Ctrl+X and paste them in cells B1-B4 by using key combination Ctrl+V:

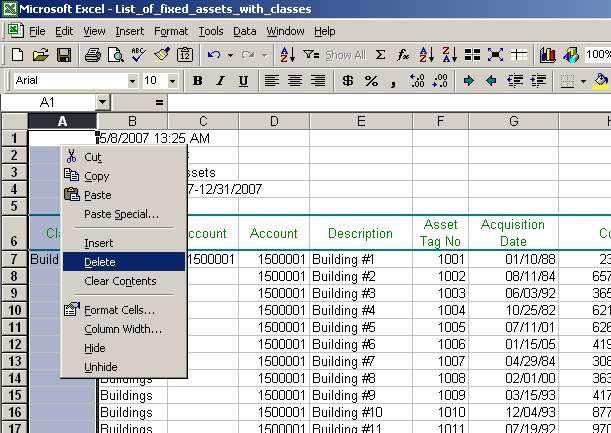
Once we are done with moving header information, we can delete columns A and C. To do that, select entire column A first (see above on how to select an entire column), right click on it and select Delete from popup menu (see tab Step 5-2 in our listing of fixed assets):

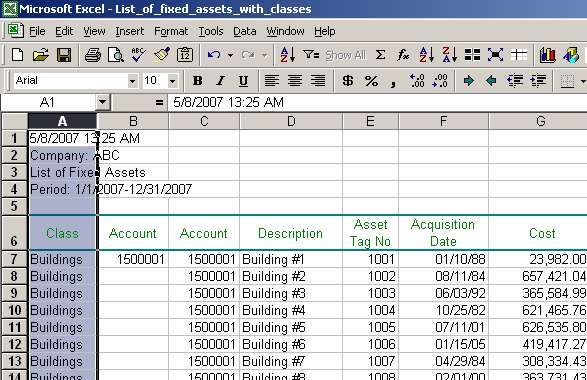
Column A will be deleted (see tab Step 5-2 in our listing of fixed assets):

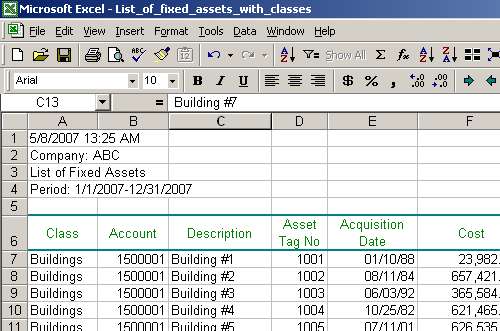
Perform the same deletion procedure for column B (which used to be column C before we deleted column A as explained right above). Your result will be the following view (see tab Step 5-3 in our listing of fixed assets):

That's it. We did what we intended to do. Namely, we filled in empty cells in columns A and B with their respective values. The updated file is easier to use in our further calculations or work.
Page 6 of 6